Ebbro McLaren-Honda MP4-30. Early season 2015. Fernando Alonso.

This time I'm going to build 1/20 scale Formula 1 car from Ebbro. This is a McLaren-Honda MP4-30 from Malaysian GP 2015 driven by Fernando Alonso. This car is famous due to the mem which appeared on the radio when Alonso was complaining about the engine performance (GP2 Engine, GP2!).
Since I very appreciate the talent of Alonso as a race car driver, I decided to build this car. Another reason is that I wanted to challenge myself in 1/20 scale that I've never built before. This scale doesn't allow any excuses in the building process and moreover the formula models are fully exposed which makes the build even more complicated. Every detail should be worked out properly. So let's get started.
This blog post won't be splitted, I will post WIP from the beginning to the end. Unfortunately I don't have photos from all building steps but I will touch the most important.Let's do a quick review of the kit. The kit contains four sprues, body, pre-painted tyres, the list of sponsor decals and livery. The amount of parts is not very big and overall feeling is that it is going to be easy assembly. This type of model called curb-side, meaning there is no engine included, the cowl is not detachable and there is no super detalization.
Sprue A: front wing, bottom parts of the cockpit, aerodynamic parts, exhaust pipe and mirrors.
Sprue B: cowl, rear wing, aerodynamic parts.
Sprue C: bottom, steering wheel, rear suspension, more aero parts, wheel hubs
Sprue D: gearbox, seat, bottom plank, wheels, brakes, front suspension
But Idecided to go abit further and purchased some add-ons from Studio27 (PE, white metal parts, seat belts), additional decals with alco sponsors and coupleof sheets of the carbon fiber decals from Scale Motor Sports.
Regarding paints, I used TS-17 (gloss aluminium) and TS-40 (metallic black) which are recommended in the manual. Most othe paints I also took from the manual except few which are not important and used for smaller parts. The clear I used from Mr.Hobby (High gloss clear coat).


But if you want to apply PE parts you would need to make modifications. And here the project is gaining the complexity. I replaced default ribs on the front wing with the PE parts. You also should consider to use putty on all mold cavities. And this kit hasthem a lot! I also cut fixtures from the aero parts of the front wing in order to replace them with the PE.


After some struggling with the PE parts and carbon fiber decals the result is very satisfying.


Let's move on to the rear wing. That part was very easy to assemble, because the kit provides perfect fitting with precise cavites. But to keep consistency in details I decided to add my own scratch built fixture for the DRS, which I made using my laser cutter/engraver. Even though the kit carbon fiber decals for the rear wing were hard to apply I managed to do it after spending the entire evening.


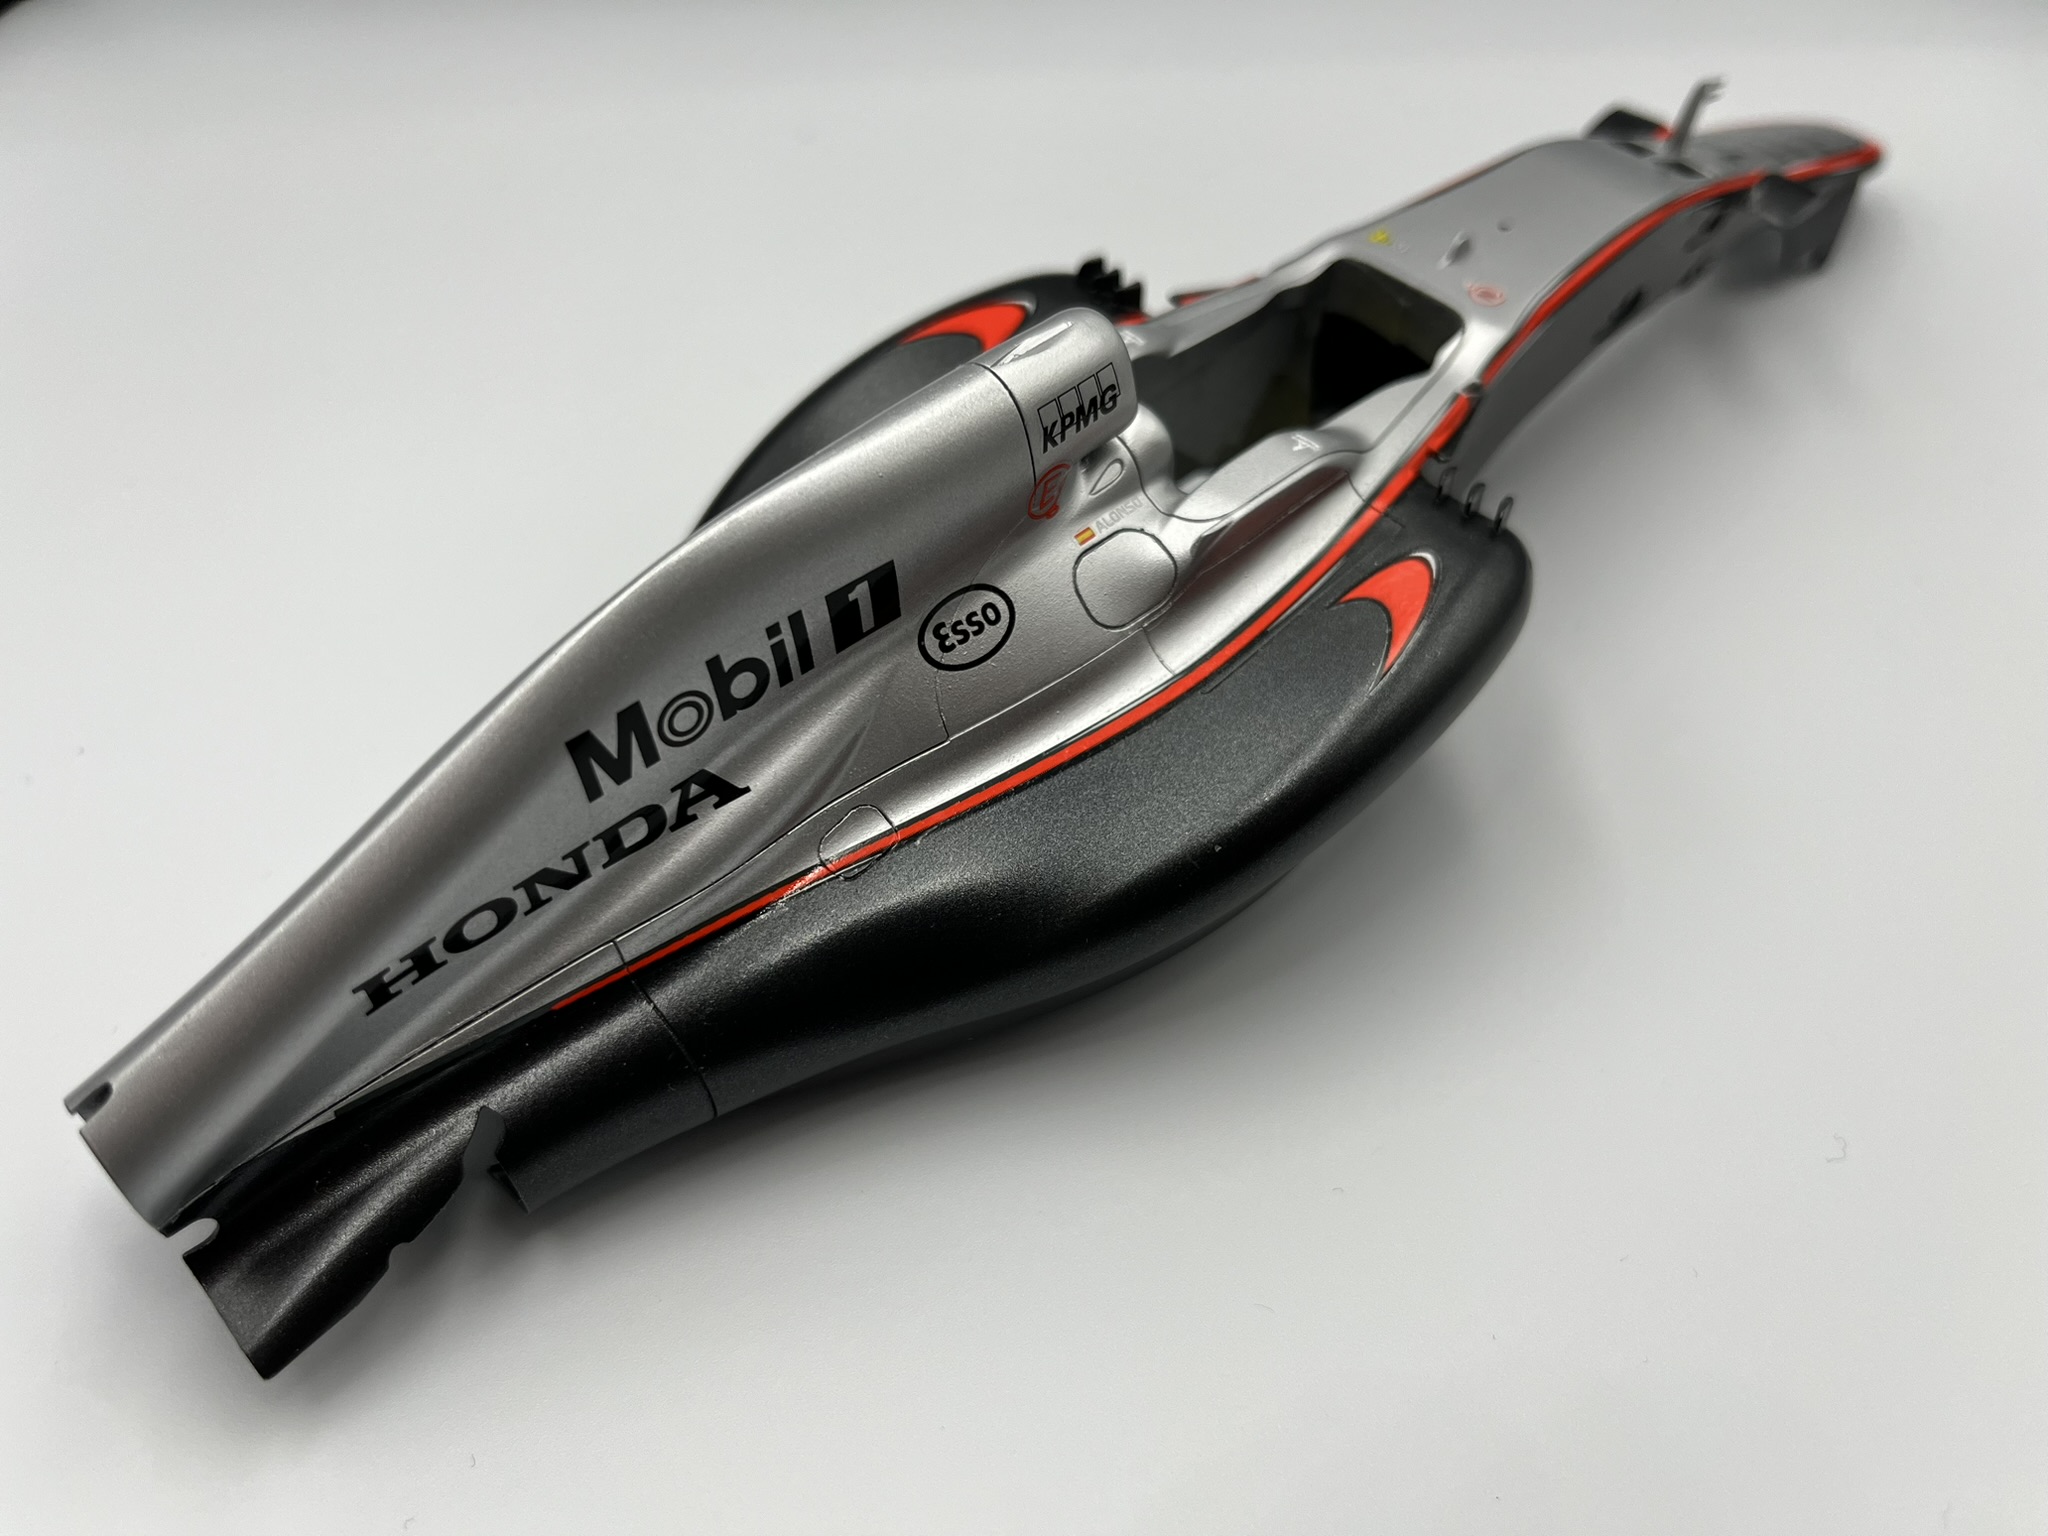
The next is the body. The main livery is two-coloured with the complicated smooth border between the colours which goes along the entire body. Unfortunately Ebbro didn't put any masks to help fellow modellers, therefore we need to fix it by our own. And paint job should be very precise so, the color border lays exactly under the orange decal. No place for excuses. Another item for consideration is that you need to glue all aero parts first (like during assembly of an aircraft), then remove all necessary seam lines with a putty and only after it you canstart priming and painting.
I also want to emphasize the work in forn of the cockpit. Front air tunnel should be smoothen to the top of cockpit surface, cause it is given as a separate part and has a seam.
Then it was the time for sponsor decals, but nothing special to mention. Decals are precise and applied without any issues.


Now it is time for applying the carbon fiber decals. This was enormous work that took me a month, but I managed to apply carbon on the entire suspension, brakes and gearbox. As well as rear diffusor on the bottom, top side of the bottom plate and some aero part underneath.


One more small detail to take into account is this fixture. The MP4-30 of the early season doesn't have this part.

Ok, now we fixed the main parts, let's start with the details.
To make a rear light I used a combination of everything: light from white metal from add-ons, PE frame, yellow decal from the kit and transparent plastic sheet from iPad screen protector. I'm not very happy with the result. It is something to improve in the future.


The seat was quite easy to, just assembled theseat belts from the upgrade parts set and fixed with the double-sided tape. And there is one small detail to mention. Original seatbelts have white stripe on them which I took from the default decalset (where the seatbels are given as decals).


When it comes to the wheels. The front wheel nuts were painted in titanium gold and semi-gloss black the central part of the nut. The rear wheel nuts have been painted in red. I added L & R markings on the tyres with a toothpick. Very important work to be done is to remove the central seam from the tyres as well asnew rubber shine. I used hand rotary tool and 400 grit sandpaper to do the work. The result is very satisfying!


Here is the assebled rear suspension with the gearbox, brakes and exhaust pipe.
I replaced plastic drive shafts with the brass tube 1.3 mm in diameter, it fitted perfectly. And also made a bit of weathering on the exhaust pipe using Tamiya weathirn master powder.


During the final assembly I added few details to make the model looks busy and more realistic: some fixtures and kill switches.


And here is the final result. More photos I will uploadto the gallery.

Thank you for reading! See you on the next build!


Comments
Post a Comment