Tamiya F-16 Fighting Falcon 1/72. Part 3 - Canopy & Assembly

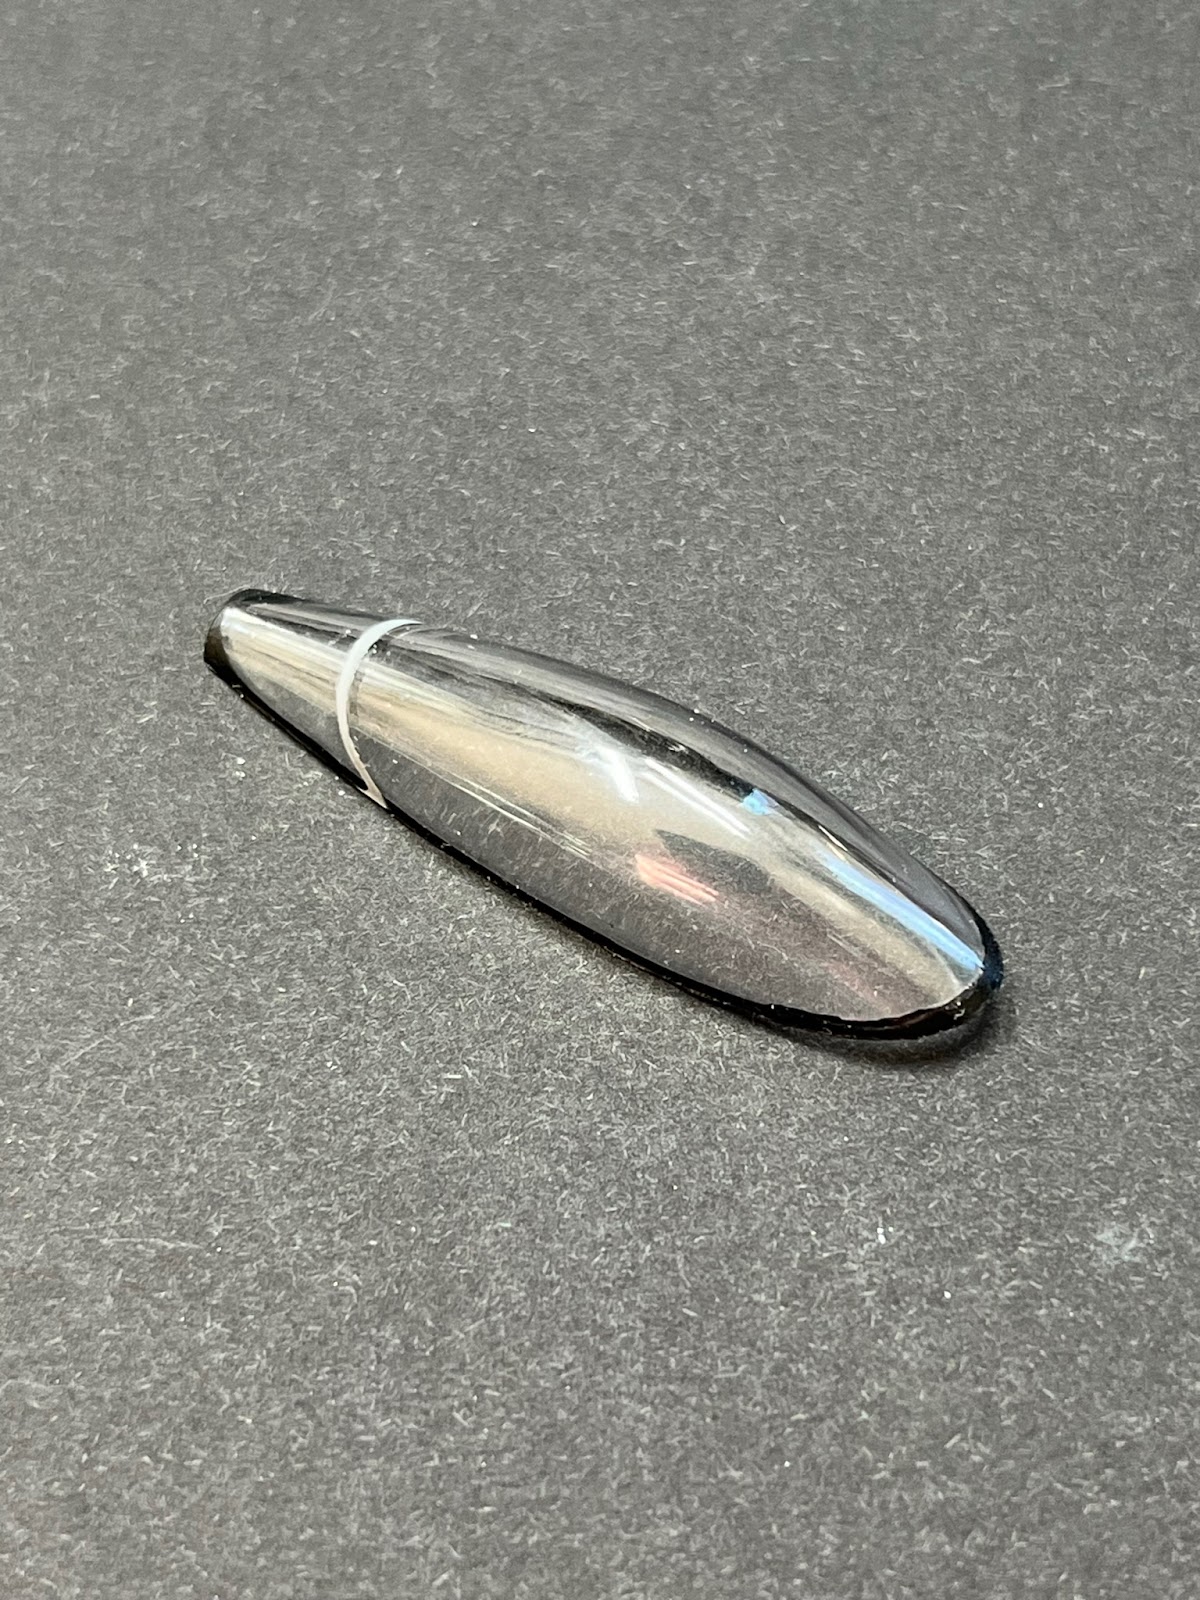
As the cockpit is done, I can continue with the rest and most challenging parts - canopy and the fuselage. The conopy has been molded in a way that during the cutting it off the sprue it left the damage on the border.


So I had to sand it down with the different sanding papers and then polish with the polishing pastes from Tamiya. It didn't turn out perfect, but good enough to continue working on it.

Then I masked it off to paint the lower border of the canopy and hide the flaws completely.
So this is how it turned out in the end after the second round of masking and painting.
I think not bad for the first attempt.
Now I can start working on the assembly of the body, but first I need to fix obvious issues and check the rest with the primer.
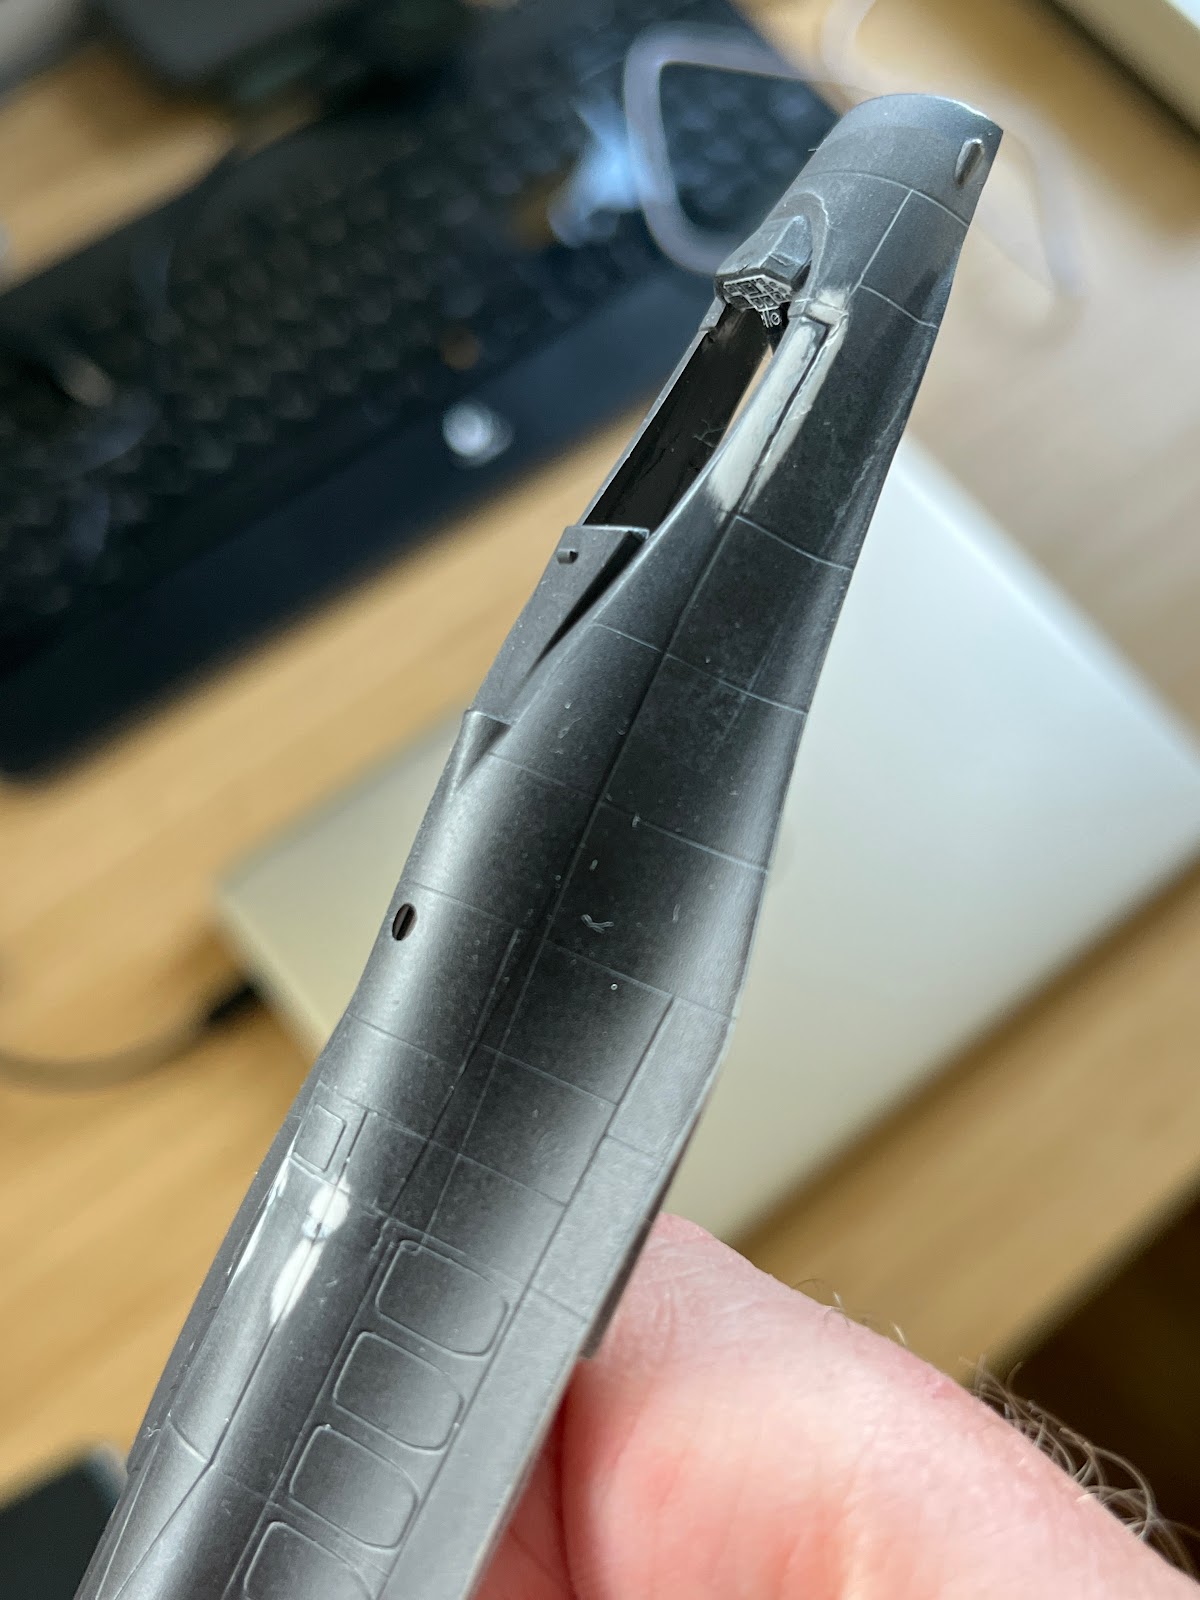


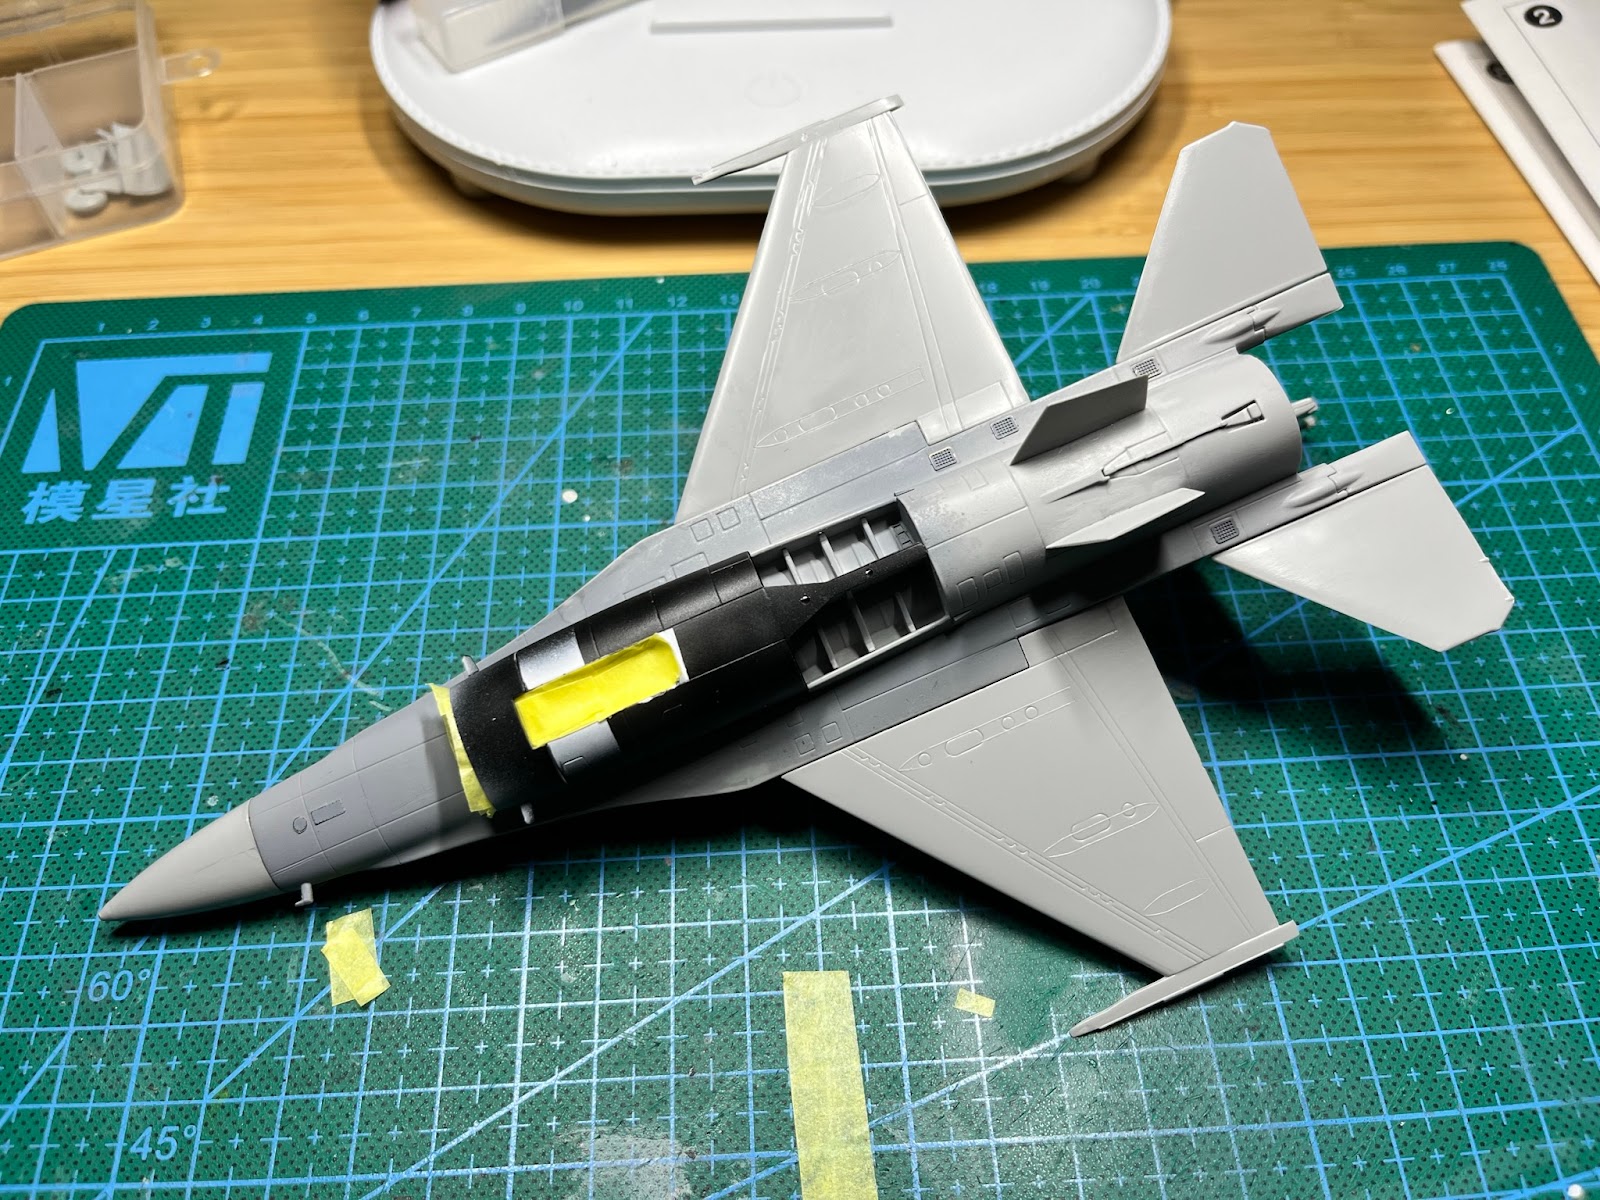


The main issues on the top are fixed. Bottom looked clean enough. Assembly is done and masking of the undercarriage too.
The air intake was a little bit tricky since it has to be painted white from inside but leave the backwall black. Therefore 2 parts of the air intake had to be painted and masked before the assembly.
The next step is full assembly and priming to understand more flaws. And also I will start working on the exhaust as it is quite complicated part from painting point of view.


Comments
Post a Comment