Tamiya F-16 Fighting Falcon 1/72. Part 5 - Painting & decaling

I learned from the internet how to paint the aircrafts, but seems like I don't have proper tools and skills, therefore the painting process took me quite a while and the result is a bit not what I expected.
To shorten the process of preshading I used black primer and microfiller from AK.


The I tried to do marble painting with Tamiya XF-2 Flat white color to emulate uneven painting. Something absolutely new for me as for car builder.

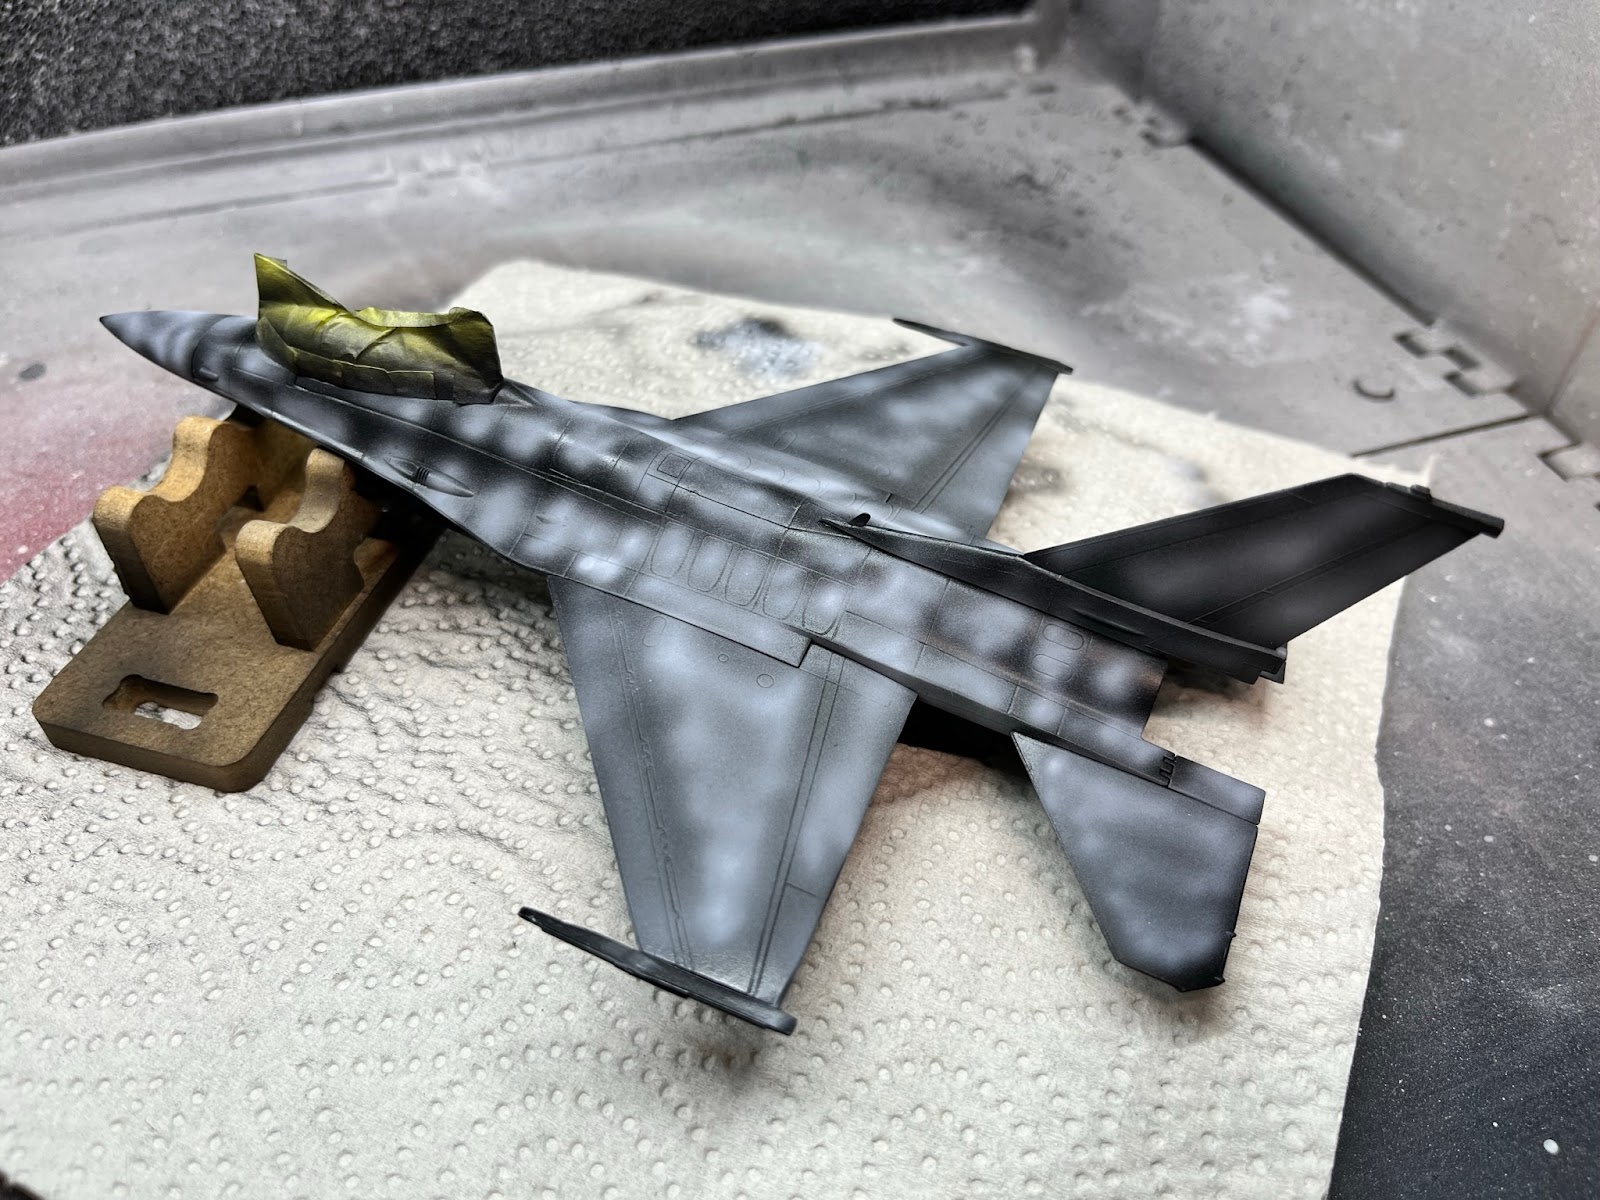
Then I moved to the darker shade of grey, then masking and the coat of the lighter one.
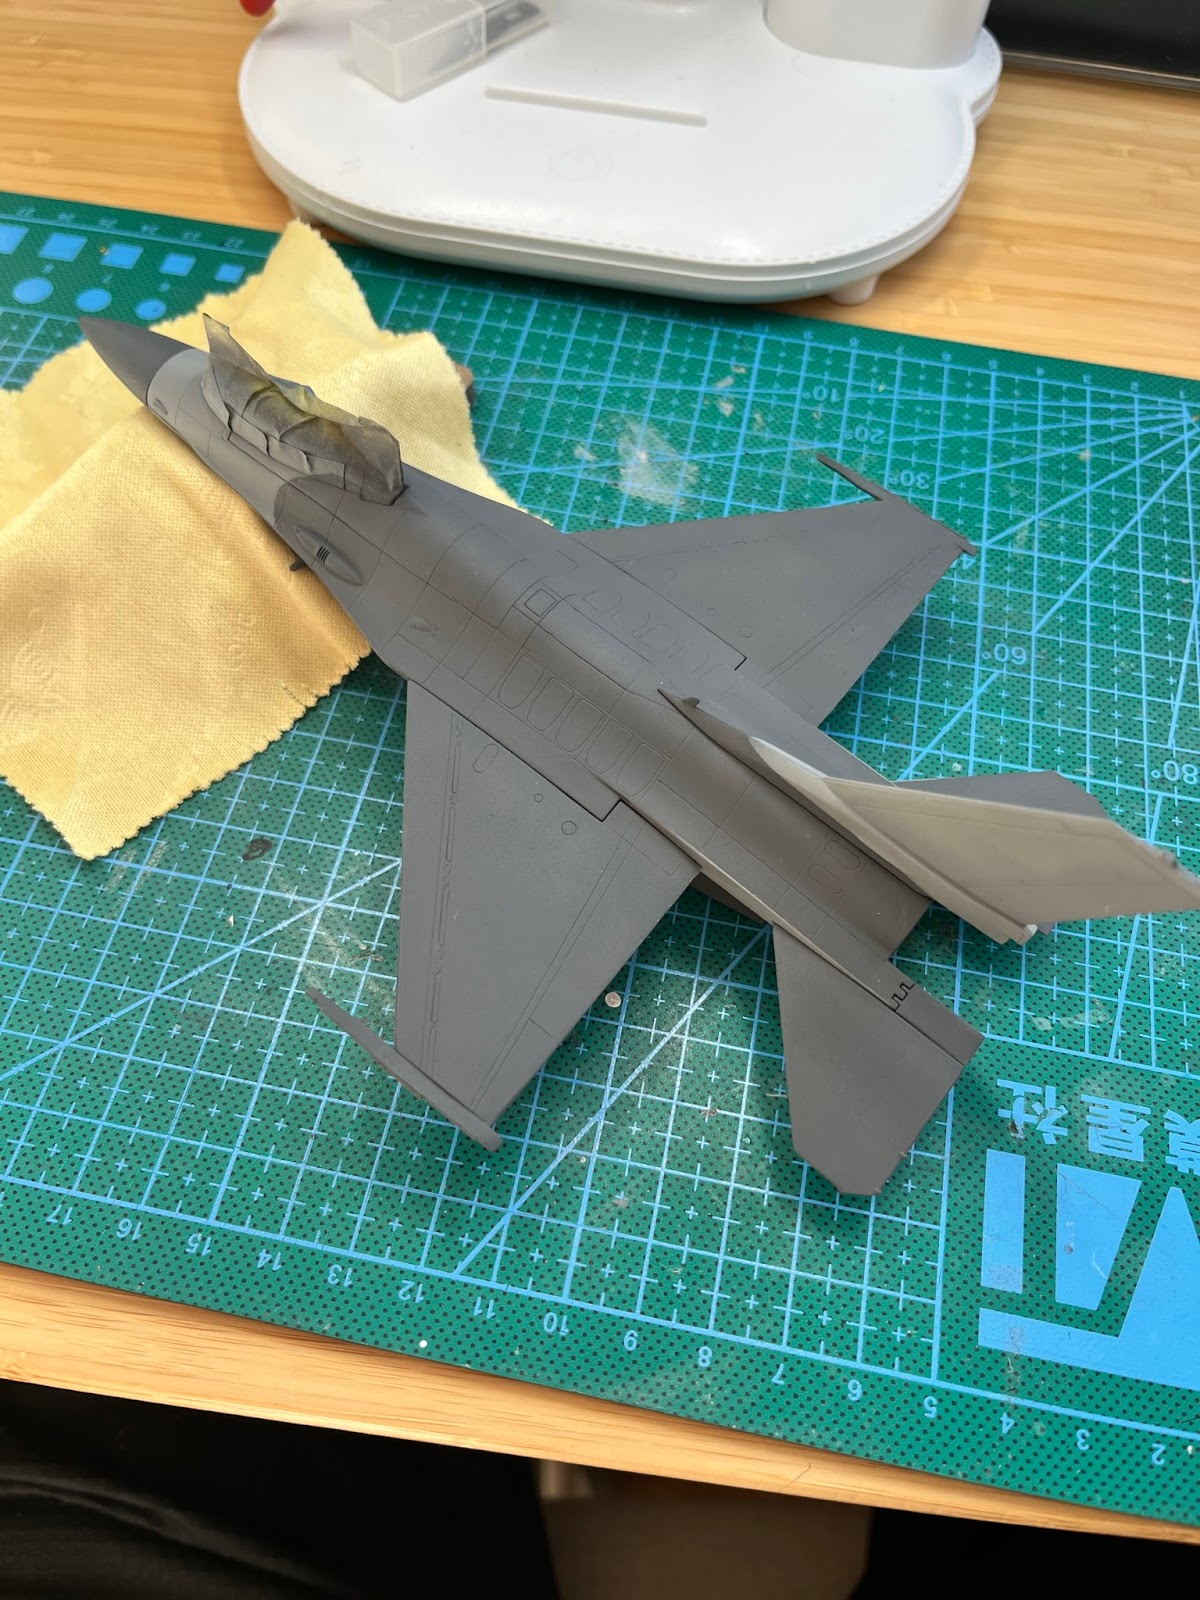

Finally I put a light layer of gloss clear to prepare the surface for better decal adhesion.
Decaling process took me couple of days but that was a pure joy.

In the end I glued 2 remaining parts in place: engine nozzle and fuel intake to the nose.

I call it's done for this issue. The next steps are: preparing the weapons and coating everything with semi-gloss clear before slight weathering.
Stay tuned!


Comments
Post a Comment